Field to Table: Field Dressing 101
It all starts with good field dressing.
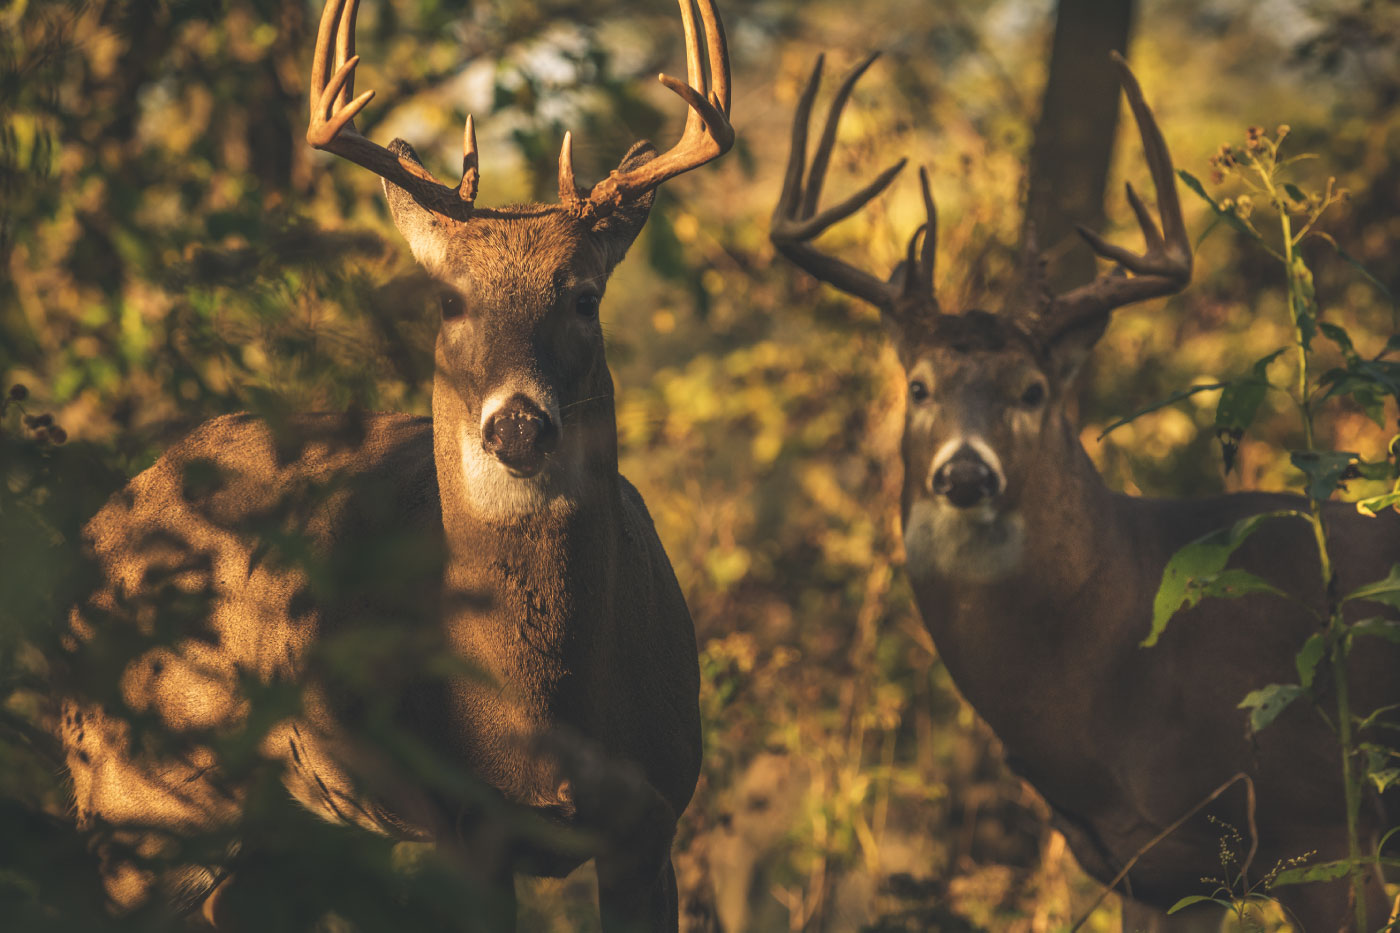
You did it! You kept your nerves steady and made a great shot that killed the deer so quickly, you watched her pile up seconds after the shot. There will be the flood of reactions and adrenaline. But then comes the work of harvesting the deer for venison. It begins with good field dressing.
Let me dispel one myth about field dressing a deer right now: it doesn’t smell bad. It only smells bad if you find the smell of meat repulsive. I think the stories about deer smelling bad on the inside have grown out of experiences with sloppy field dressing techniques and deer that were not recovered in a timely manner. I have never experienced the latter and only seen the former once. Yet the worst smell I have ever experienced is rotten meat. Putrefaction is utterly disgusting. To be perfectly honest, I don’t even find gut shot deer to be that difficult to field dress, although it is far from ideal. We’ll get into that more in another article.
The way I’m going to show you to field dress a deer requires only a sharp knife and either a length of rope or a hunting partner to lend a hand. The advantages of this method are manifold. No special equipment or tools are required, so your hunting pack can be as minimal as you want. Once you’ve practiced, it’s fast. I can field dress a deer in less than five minutes. Finally, it is very neat and exposes only the bare minimum of the deer to the outside elements. The meat is protected from dirt, insects, and other contaminants. So let’s get back to your deer.
Good field dressing begins with the right preparation.
First, tag it. You may wonder why I mention that, but it’s easy to forget and expensive if you get caught in what is most likely an innocent error. Second, take your pictures. Do this before you field dress her, because afterwards you will both be bloody and disheveled. Enjoy the moment—pictures, high-fives, whatever. Besides, this will give you a chance to let the adrenaline cycle out of your system so your hands are steady. Now remove some outer layers. It is better to be a little chilly than to bloody up your nice hunting coat. You’ll find it is warm work. Roll up your sleeves. I am more than a little surprised at the bloodstained jacket and shirt sleeves I see every year.
Next, get the deer into position. Just about everywhere I’ve hunted has some slope to it. You don’t want the slope to be too steep, or else she will slide away from you. Begin with pointing her head down the slope.
Empty out the equipment from your pack nearby: knife, paper towels, disposable gloves, diet soda or water, and one gallon zipper storage bags. Some of these are optional. Unless you plan on eating the internal organs, you don’t need the plastic bags. You don’t need the water, diet soda, or towels for washing, either. Blood dries quickly under most circumstances, so most washing can be left for camp.
Get the deer, and yourself, in position.
Now you’re ready. Take a position where you can comfortably reach the butt end of the deer. I like to kneel while my partner holds the deer’s hind legs and pulls the hindquarters up so I can better see what I’m doing. Using small cuts, open the skin to the side of the anus. This skin is tough—you’ll need a sharp knife. You can make cutting easier by pinching the skin to lift it away from the underlying muscle. Once you have a 1/2 inch incision, you can insert the tip of the knife and cut up and away from the carcass.
Skin is far tougher than most people think. Hair is even tougher. Cutting from the inside-out is much easier and does not dull your knife as quickly. Continue cutting all the way around the anus and vaginal opening. You will see that there is some fatty connective tissue that lies between the pelvic tunnel and the bowel and vagina which all holds together. Use increasingly deep cuts to free these from that connective tissue, tracing around until you can’t reach further in.
Next, turn the deer so she faces up hill. Her internal organs will settle away from the chest cavity and provide you room to work. Straddle the deer facing uphill by yourself. Now find the tip of the breastbone.
You can practice this now on yourself. Tap on your chest in the center and feel the hard bone there. Tap lower until you find the spot it drops off into you abdomen. That is the spot you’ll need to locate on the deer. There is a lip of thick cartilage at the tip of the breastbone.
Spread the hair and make a firm cut down using a slicing motion that is about 1.5 inches long. You may see bone, cartilage, or the gray shiny surface of the stomach depending on how deep this first cut is. Take your index finger and push it into this initial cut. Work your finger around in a sweeping motion between the skin and the guts. You can’t do this wrong, but you can mistake the gap between the skin and the thin muscular wall for the real internal cavity. If you do, just go back and do it again.
Once you have that hole open, insert a second finger, again working it around to loosen things up. Now change position and straddle the deer facing downhill. Insert two fingers into the hole you’ve made and place the tip of your knife between your fingers. Begin cutting through the abdominal muscle and hide in one smooth stroke. What you are doing is pushing down on the guts to give the blade clearance without puncturing the stomach or intestines. Keep going all the way down until you hit the juncture of the abdomen with the hind legs.
Next, remove the mammary glands. These are easy to locate once you split the abdomen. If she is a dry doe, the mammaries will be fatty, grey-pink tissues between the abdominal wall and the hide. Using the same method as before, cut a generous line around each gland. Separate the gland from the abdomen by pulling and cutting connective tissue as needed. If she’s still making milk, you will of course find some.
It’s time to get bloody.
Go back to your first position facing uphill. Your partner can help by holding the forelegs and moving the deer slightly from side to side as needed. Pull the stomach out of the way so you can see the diaphragm. The diaphragm is a thin wall of muscle that separates the abdomen from the chest, or thorax. It is attached to the rib cage, vertebrae, and breastbone. You should be able to see this. Cut the diaphragm from the ribs beginning with one side. Move the stomach to the other side to cut the other side. Don’t worry about the last point near the vertebrae just yet. We will get that in time. If you shot the deer anywhere in the heart or lung area, you will have a pool of dark red blood before you. Don’t be afraid or grossed out: this is how venison gets to the table.
Take your knife in your dominant hand and line up your blade with your index finger extended. Reach into the chest cavity with your other hand and your dominant hand holding the knife. Do this slowly as there may be sharp edges from broken bone, lost arrowheads—sometimes not from you!—and your own knife. You don’t want to cut your other hand when reaching up, of course. Yet we instinctively have a sense where our various body parts are located. If you need proof of this, just close your eyes and touch your left and right fingertips together.
Reach up to the very top of the chest cavity past the heart and find two tubes, the esophagus and the trachea. The trachea is about 1.5 inches in diameter, hard as plastic and has slight ridges. The esophagus is slick and stretchy and about as big around as a garden hose. Again with your finger and knife, cut both of these as high up into the cavity as you can.
Now comes the potentially messy part.
Watch your foot placement or your brand new hunting boots will get a bloody bath. Set your knife aside for a moment and get both hands on the lungs and esophagus. Start pulling straight down from the front of the deer toward the rear, pulling the mass of innards out and to the side of the deer as you go. You will need to cut the diaphragm at the vertebrae, but all the other connective tissue should just pull loose. Apart from the diaphragm, you will want to limit any cuts in the abdominal area from here forward, because it can be hard to see the tenderloins. You certainly don’t want to cut those up!
The last step is a bit tricky, but once you’ve done it a few times you’ll have a feel for it. At this point you will have a pile of guts hanging out. Find the vagina and rectum where they lead into the pelvic tunnel. Grasp the rectum firmly with both hands—it’s slick!—and in a straight line pull from the back of the deer toward the front. Remember, the connective tissue is not very strong and it should give way so that you can bring the rectum and vagina back through the pelvic tunnel.
Now you can dump all the internal organs out to the side of the deer. You may need to make an occasional cut, but it’s better to pull loose first. With your partner, drag the deer uphill and away from the gut pile. Flip her over so she is in an upright position with legs spread and head uphill to let the blood drain out.
That’s it!
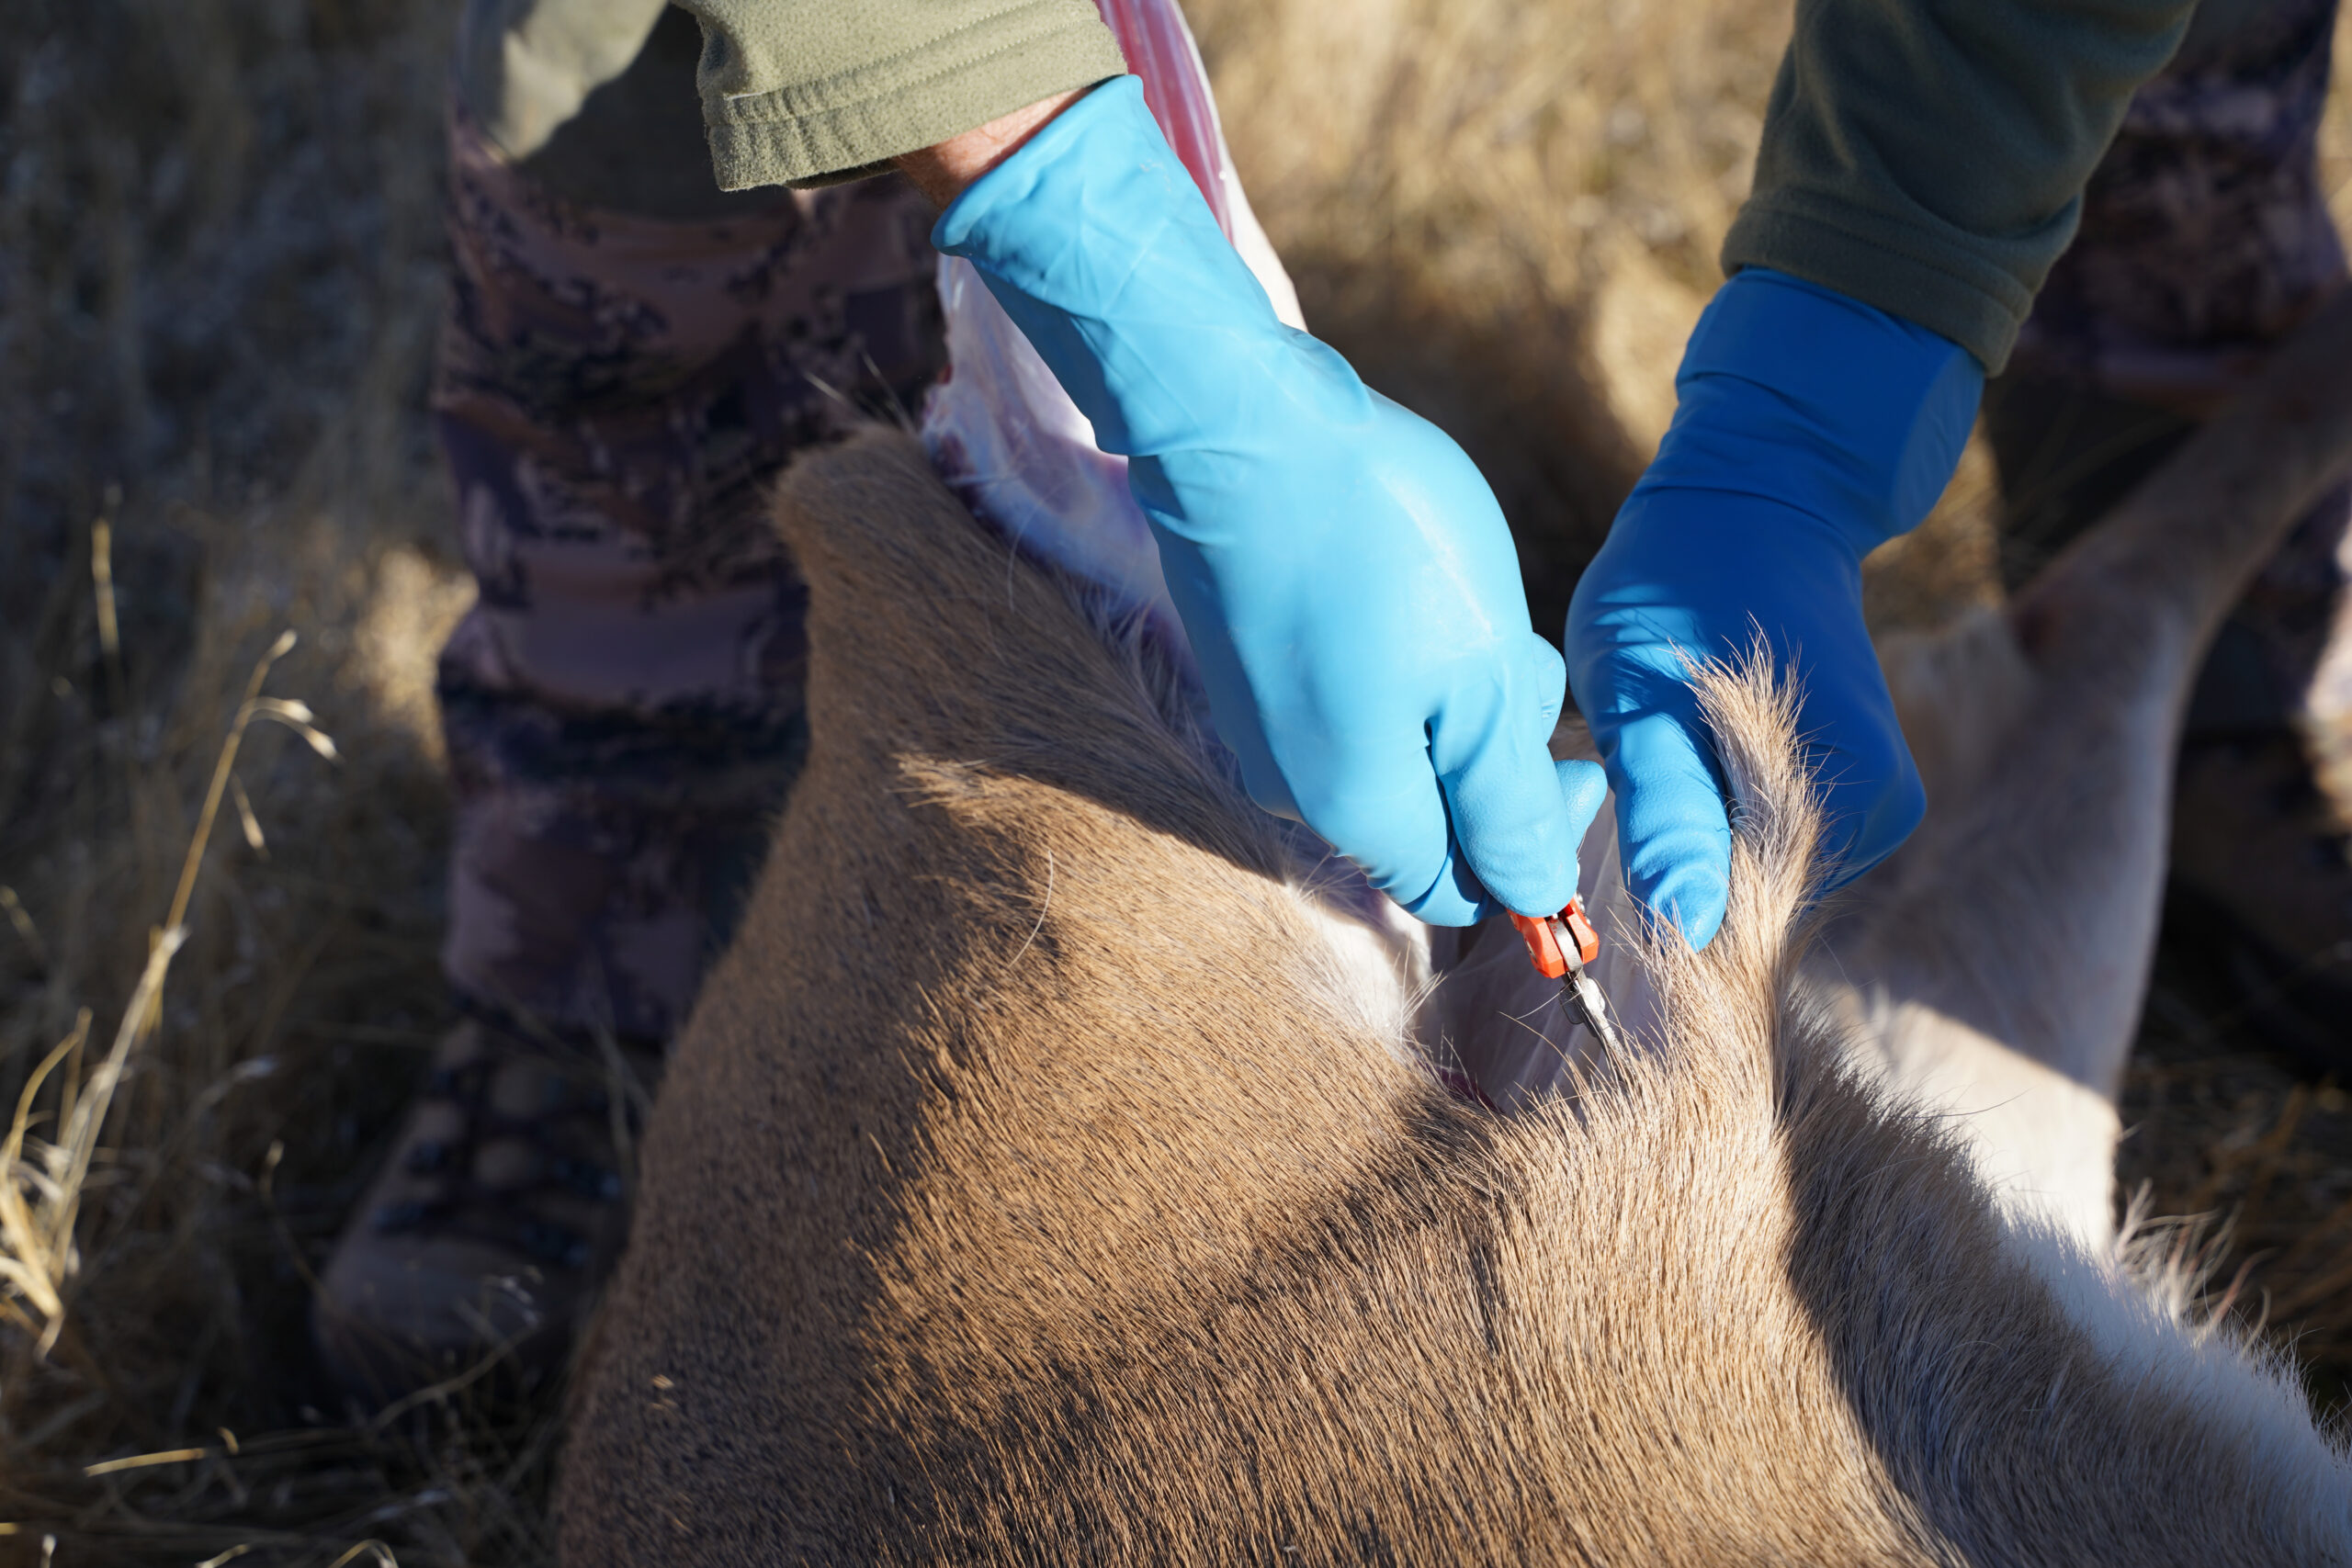
You’ve just field dressed a deer. Take off your gloves if you wore them and put them in a plastic bag to dispose of properly. Remember that diet soda? Yes, I like to drink it, but it also makes a great hand cleaner! The carbonation and slight acidity help breakup the dried blood on your forearms and hands. Don’t use regular soda. The sugar will leave you sticky.
Next time, I will walk you through some possible scenarios when field dressing can go wrong.